Pages

Showing posts with label Indigoblu. Show all posts

Thursday, 31 December 2020

2020 Baker's Dozen

 Hello Creative Friends, 

The last day of the year has arrived which means 
I get to repost a handful of my favourite makes of 2020. 

As many of my personal favourites I've not shared this year I'm 
breaking tradition by starting with my favourite unshared piece 
which is also my last page as Guest Host @ Art Journal Journey 

The meaning of .. words. 

This journal page bares my outstretched hand resting on a painted 
foliage paper. Every day since creating this page I have placed a 
new word or affirmation in the hand to start my day.. words help. 
Today I'm placing Thank YOU a little word with a huge heart. 

Shared with gratitude to all those that have been supportive, 
shown kindness, strength and consideration. Been an ear or 
virtual shoulder to cry on or just believed in me... 

I thank YOU all.
 

Now time to share and revisit a tiny piece of my 2020


This little stamperia bird has been on quite 
a journey with me this year... 


I became very addicted to making these in 2020


Dr Maya Angelou


Thank you all so much for sharing your time with me

Let's hold on to hope that 2021 will 
keep all that is precious to us safe 
and a much happier one..

Creative wishes 
Tracey xx

Bringing in the New Year with: 

Friday, 11 January 2019

Inspired by an Angel

Hello Creative Friends,

You may have already seen this sweet Angel I received from my dear friend 
Dorthe isn't she heavenly.. Her rich colouration was my inspiration 
for today's shared creation...


During my New Year clean up I found these scraps of lace, threads and fabrics 
along with some left over Kraft tags from Christmas wrapping, it seemed such a 
shame to discard them as together they appear at harmony with each other.


Sewn lace on a hessian tag is enhanced using watercolour brush pens.


These new to me dies create beautiful cuts when using vellum.


The sewn on doily masks the clock face.. 
a simple message to embrace the moment for time is precious...
just like that handmade button my *New* obsession for 2019


Randomly stamped areas help give depth to those neutral colours 
with words from my favourite affirmations set Designed by Lynne Moncrieff, 
gently stamped onto tea bag paper and stitched into place.


A handmade embellishment made to represent the gifted Angel is sewn into place, 
how the gold of the ribbon matches the golds upon Dorthe's created Angel above.


Those handmade embellishments help put my personal stamp on it.

Completing my First tag of the Year.


I think this tag would make a super cover to a notebook..
Hmmm there's an idea in the making :))

Wishing you all a wonderful weekend.

Creative Hugs & wishes
Tracey xx

I'm sharing today's creative play with:
Kristin & EVA ~ PPF
Tag Tuesday ~ New Beginnings
A Vintage Journey ~ Put your Stamp on it
AppleApricot ~ Simply Neutrals 52

Friday, 6 July 2018

Paperbabe Challenge #77 ~ Picture Inspiration

Hello Creative Friends

I hope you are all keeping well and looking forward to the weekend?

Today I'm here to announce a new Paperbabe blog challenge
using the picture below as your inspiration.

We'd love to see your take on the Picture Inspiration so
pop on over HERE and join in with the creativity.


Here's what I got up to and how it came to be..

Using a large canvas tote bag I masked around the edges and used paints suitable 
for fabric to create a background. Painting, spraying, dabbing and scraping through 
stencils from the Paperbabe range. I had so much fun creating it..


With the Peony and Buds stamped onto plain decoupage rice paper I applied directly 
onto the painted canvas using fabric decoupage glue, sealing it with another coat 
and then began to paint it using the colours from the picture prompt.


When finished I painted around the flower blending in colours to hide any of the rice paper still visible. When happy with the design I removed the masking tape.. 
I love how the paint has seeped just a little outside those lines.


With some machine stitching added around the edges of the print 
I ironed on the back to fix the paint making it suitable for washing. 

My Hand painted Canvas Tote Bag is complete.


...but what about those hanging words I hear you say..?
well I'm saving that tutorial for another day!! Hee hee..

Thank you for sharing your time today and popping in
it really makes my day.

Take good care everyone

Creative Hugs 
Tracey xx

I'm linking this to Paint Party Friday

Creative Supplies:
Paperbabe ~ Dots Stencils in all sizes. 
Paperbabe ~ Peony & Bud Stamp Set 
IndigoBlu Paints
Fabric Decoupage Glue
Decoupage Rice Paper

Sunday, 17 December 2017

Mini Marvel 12th Tag.. December: Home is where...

Well it's finally here, my 12th and final mini marvel tag creation and I could think of nothing better to create it on but a small wooden tag sent to me from Chris during a mini swap earlier in the year..

Here is tag 12 using those mini prompts.

Covering in Gesso, the tag was painted black. A layer of Sleeping Beauty 
was painted on top and scratched into with the end of the paint brush.

Modelling paste was pushed through a dots Stencil and strips of rice paper glued on using matt medium. Pearl Shimmer paint tones the colour down along with dots of black gesso. 


White Gesso is dabbed through a mini snowflake tree stencil and covered in clear 
Gesso when dry. Stamped script helps to break up the white and shimmer layers.


Unused stamped and coloured stampendous houses are 
glued to the tag making a fine Focal image.


Embellished with stickles glitter glue and a very sweet Christmas Tree Charm.


A sentiment stamped from the very same stamp set 
completes my 12th Mini Marvel tag of 2017.


This one hangs perfectly on my Christmas Tree.

I've really enjoyed recreating each month using those prompts 
although I did miss the spontaneity that the very first tag gave.

Thank you to those that have followed my years journey and
to those that have popped in along the way but big Thanks goes to Chris
whom without those prompts my 12 Tags 
personal journey would never have begun.

**Thank YOU**

Creative Hugs and Warm Wishes
Tracey xx

Friday, 28 April 2017

Mini Zig Zag Book: Victorian Garden from Dusk till Dawn.

This Mini Zig Zag Book was created for a group swap challenge. 


It's 3.5" x 3" in size and made from one sheet of A4 Kraft card, folded and scored with two lengths glued together creating more pages. Gesso is painted on both sides with the front and flip side cover stamped and embossed using the Flutterby stamp. 


The flaws in this were not apparent to start with, all seemed well until my slap dash coating of Gesso was dry and I noticed that the edges had started to crack! Now i'm not too sure why this happened, was it the quality of Kraft card I was using or had I over scored it..?? 
I have no idea but as this would be flying off to a new home I didn't want it to fall apart. 
So I decided to strengthened the folds with masking tape 
decorated with the script stamp before adhering.


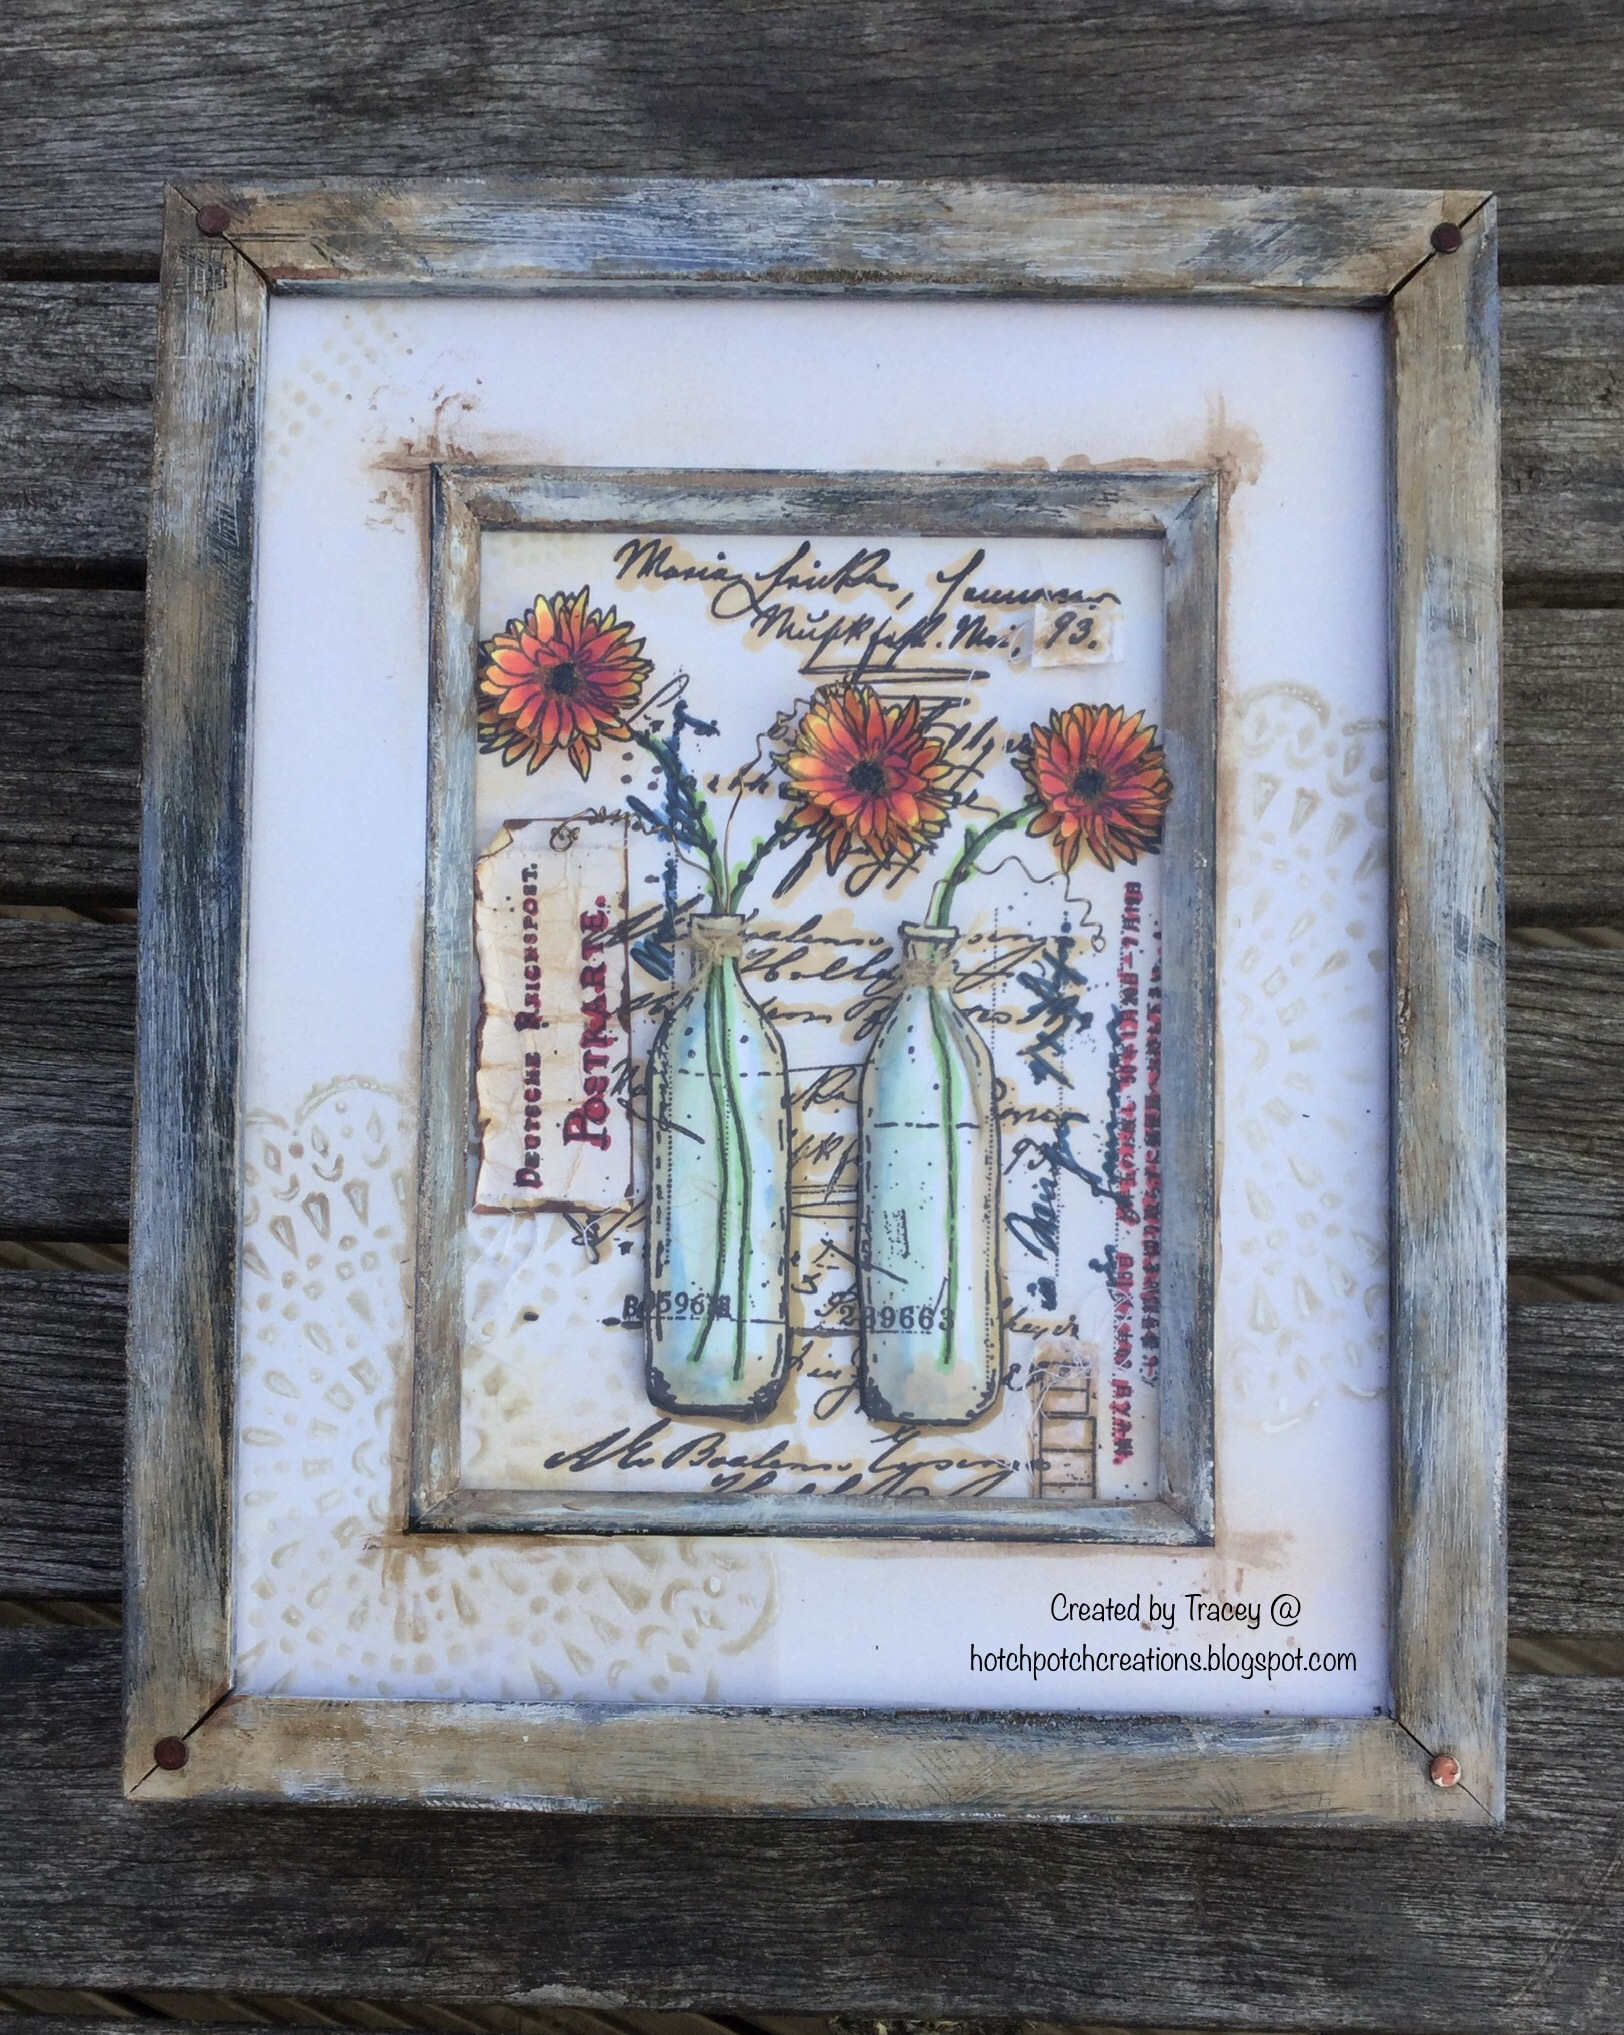
Using Tim Holtz Distress Oxides, I stamped and clear heat embossed  a scene of flowers using stamps by IndigoBlu from the Victorian Garden set. I found the Kraft card buckled and bent during the heating process with me again questioning it's quality 
but I do love the look oxides leave when clear embossed as it wakes their colour up.
Spectrum Noir Moonstone sparkle pen has been brushed across the skyline 
creating the look of dawn and its first light.


The flip side has been stamped using Butterflies from the Victorian Garden set and heat embossed in clear and white. The Butterflies have been gently coloured using sparkle pens and the background coloured using Faded Jeans Distress Oxide and darkened with Chipped Sapphire distress ink to give the look of dusk as night begins to fall.


I (tried to) replicate the body of a Butterfly by altering the shape
of a large paperclip and wire wrapping red agate around it. 
This is a removable fastening that holds the book closed.


Sentiments used are from the fabulous Victorian Garden stamp set 
Designed by the super talented Kay Halliwell-sutton of IndigoBlu.


Although this little Zig Zag Book raised some concerns along the way, even photographing it was difficult, I do like the effect of the finished piece and hope its recipient likes it too.

Now my mission is to throw a few more ideas onto my Kraft Card and test its stability 
and if all else fails... source some more!!

Thank you for your company today, wishing you all a bright and sunny weekend.

Hugs Tracey xx

Crafty Supplies:
Kraft Card/Masking Tape/Embossing Powder/Archival Ink
Tim Holtz Distress/Oxides

Sunday, 12 March 2017

On the cusp of Spring..

As time plays a big factor in March and we lose an hour with BST its an early reminder that the lighter nights will soon be upon us along with awakening nature and floral beauty.

Today I'd like to share a project I finished a good few weeks ago..


Using a plywood painters palette I first coated it in white Gesso.
Mixing Pink Iced Gem acrylic paint with IndigoBlu Super thick slap it on I used the
Girl in Profile stencil as a guide to create the face profile.


Versamark embossing ink has been stamped through the Laurel Leaves Stencil with Luscious pigment powders Gold, Bronze and Penny Dreadful gently dusted on top.


Images are stamped from both A5 IndigoBlu Live Laugh Love and 
the Blooming Great stamp sets.


By adding drops of water to a small amount of decanted Luscious pigment powder the stamped images have been painted using Coral, Raspberry, Gold, Buttercup, Lawn, and Purple. They have then been cut out and scrunched up to give a worn look.


A hole has been measured and punched into the palette ready for the clock fitting and a layer of white Gesso applied over the whole image to make it sink into the background.
Super Thick Slap it on was then been pushed through the Small Clock Face Stencil.


As Super thick Slap it on dries clear Gilding wax has been used to highlight the clock face. The small flowers from the Blooming Great stamp set have been placed on the
3rd, 6th, 9th & 12th Hour making it easier to read the time from afar.


Butterflies and Dragonflies have been randomly stamped onto the palette from the
Live Laugh Love stamp set and Painted with Rose, Poseidon Blue and Lawn Luscious pigment powders before assembling the clock mechanism.


The scrunched and cut flowers and leaves have been applied after the clock mechanism was fitted as I could then see the surrounding space and make sure both flowers and leaves did not interfere with the clock hands as they moved around.


I'd been waiting for the right project to come along to be able to use this paint palette 
and I must say the image created seems to fit perfectly. 

Thank you for your time, I hope you have been inspired.

Creative Hugs from Tracey xx

Tuesday, 24 January 2017

Frosty Robin

Regrettably I never got chance to use this delightful stamp before Christmas, whilst having a top and tail of some of my stamp collection I thought I would test stamp the Robin from IndigoBlu and just couldn't resist creating a little hanging plaque.


I painted a 6x6" greyboard with white gesso then Grandma's Teacup acrylic by IndigoBlu, whilst the paint was still wet I removed some of the paint using a sponge exposing the white gesso.


Using versafine black onyx I stamped the Bare Forest Stamp various times using a mask to 
help resist some of the ink transferring onto the board.


Using an oral syringe filled with IndigoBlu Super Thick Slap I followed the stamped branches by pushing the slap it on through the syringe giving a thin raised appearance.


Sprinkling with unicorn sparkles this really gives the look of frosty branches.


The robin has been stamped, embossed and painted with Postbox Red & Hot Cocca, posca pens have been used to add finer detail with the finished image being fussy cut. I decided to cut the fruit off my design as it did not go with what I was hoping to achieve.


Onto the board The Robin along with red gems have been randomly adhered to represent berries, adding a spot of white gesso to each berry blends them nicely into the picture.


I edged the board using clear embossing pen and white embossing powder.
The word freedom is from IndigoBlu's Plume stamp set stamped and embossed onto paper also  painted in the Grandma's Teacup. 


As I stated earlier this really is a delightful stamp and i'm already thinking of ways to use it..

I'd like to enter this in the Rubber Dance Stamp Challenge - January Blue-Red-White

Thank you for sharing your time to take a peek.. 
Creative Hugs from Tracey xxx