Pages

Showing posts with label Personal Impressions. Show all posts

Friday, 24 March 2017

Sweet Dixie .. Lilly Make a Wish

This Friday I am featuring a card created using stamps designed by 
Kath Halstead Sweet Dixie Lilly make a wish from Personal Impressions.

I love this Water Lily border it reminds me of those wondrous paintings by Monet.

Here's my quick and easy not so Monet creation.


A background was created by blending Tim Holtz Faded Jeans 
Distress Oxide ink onto watercolour card. Water has been splashed onto the 
background and blotted to help lift some of the colour off. 

The Water Lily border has been stamped and embossed across it.


A watered down wash of white Gesso is applied to make the background more
 subtle and enables the colour lifting off to pool around the embossed areas..


 When dry the Water Lilies have been coloured using a White Posca 
Marker and Kuretake wink of stella brushes.


The Dream sentiment along with the flourish swirl has been stamped, 
embossed and the card edged with Faux stitching before mat and layering.


Thank you for sharing your time 
and what ever you are up to this weekend have a wonderful one.

Hugs from Tracey xx

Friday, 17 March 2017

Sweet Dixie Wedding Cake

Taken from Sue Dix Sweet Dixie Wedding Cake stamp set here are two simple cards from the newly released Wedding Collection from Personal Impressions.

Sweet Dixie Wedding Cake


Coloured using Graph'it Markers the image is stamped 
multiple times cut and layered to give a dimensional look.
Platinum Stickles glitter glue has been added to the swirls along with
pearls to the centre of the flowers.


My second card has been created using elements and sentiments from
 the set to create a patchwork card by stamping, cutting, mat and layering.


The Champagne glasses have both been stamped twice layered to give 
dimension and flowers added as an extra flourish.


Two simple cards to mark a couples Special Day.

Have a wonderful weekend
Hugs from Tracey xx

Friday, 10 March 2017

Sweet Dixie Wall Flower

This week I have been playing with another of Kath Halsteads new releases
 Sweet Dixie Wall Flowers Happy Birthday Stamp set from Personal Impressions.


First I created a background using Tim Holtz new Distress Oxide inks, using Vintage Photo, Fossilized Amber and Spiced Marmalade. Applying the ink with cut and dry foam I removed part of the design by splashing and dripping water lifting it off with blotting paper.


Small amounts of DecoArt textured Sand paste was dabbed randomly
onto the background, when dry the edges of the background torn
and areas carefully burnt through to add a little interest.

The main wall flower image was stamped centrally onto the background adding the
brickwork stamps both top and bottom of the image to extend the design.
The focal image was also stamped separately for use as a topper.


Coloured using ProMarkers the topper has been distressed using 
walnut stain distress ink. Faux stitching, lace and white pen adds to the detail.


The roses have been multi stamped, coloured and layered. The With Love sentiment added and a distressed bulldog clip helps to break up the squareness of the design.


I chose to mount this creation onto a 6" x 6" Canvas 
but it would make a great card for a loved one.

Thank you for sharing your time, I wish you all a fabulous weekend.

Creative Hugs from Tracey xx

Friday, 3 March 2017

Sweet Dixie Friends and Flowers

If you enjoy colouring you will love this Sweet Dixie Friends and Flowers stamp set. Designed by Sue Dix. This is the second set from her newly released everyday collection from Personal Impressions .


Consisting of one large window box stamp with two heart-warming sentiments
I have just pure and simply stamped and coloured using ProMarkers, 
A blender pen has been used to create polka dots on the curtains and 
Kuretake clear Wink of Stella adds a little glimmer to the windows.


Matt and layered onto black and gold card, 
I added this sentiment from the set as I find it so uplifting.


the focal stamp gives you a blank canvas to be as bright and bold as you wish.
Another set where it's use is limitless.

Thank you all for stopping by..
Wishing you all a wonderful weekend..
Creative Hugs from Tracey xx


Tuesday, 28 February 2017

Sweet Dixie Flourish Frames for Him & Her... using Shrink Plastic..

Today I share a handful of embellishment and Jewellery makes using Kath Halsteads Sweet Dixie Flourish Frames from Personal Impressions all made from Shrink Plastic.

Shrink plastic is *Fantastic* and if you haven't used it you need to as it does exactly what it says... it Shrinks, transforming your stamped images into a smaller versions using heat.
Its as simple as that.

As you can see from the stamp sets true size the images really do shrink in size.


Stamping onto Shrink Plastic using StazOn it is wise to punch a hole before you heat it
if you wish to make a pendant or create dropper earrings.


These earrings have been made using clear shrink plastic so the 
male silhouette can be reversed to face the female silhouette.
The card has been created simply stamping the flourish stamp with versamark ink, 
dusting over with mica powder and embellishing with flat back pearls.


Stamped and cut out using a 2 1/4" punch. the shrunk image is glued into a 
25mm brooch and a domed glass cabochon adhered on top.

Placed onto a card, it makes a lovely gift card for someone.


Creating a Keyring, the male silhouette is stamped using Jet Black StazOn onto the shrink plastic and  a 2 1/2" circle punch used to cut the image out. After it has been heated and shrunk it is fitted into a 30mm keyring pendant.


and finally.. a simple shrink plastic embellishment for a Male Birthday card using the 
Happy Birthday sentiment included in the stamp set.


As you may have observed I have not given you the instructions on how to shrink the plastic there is a variety of brands with differing instructions of ways you can reduce its size. If you follow the instructions you should achieve successful results.

Thank you for your shared time..
I look forward to bringing another creation to you very soon.

Hugs Tracey xxx

Friday, 24 February 2017

Sweet Dixie .. It's not just a Wedding Dress !!

Today I share a DL Wedding card using Sweet Dixie Wedding Dress stamps from Sue Dix Newly released Wedding Collection and sentiments taken from Sweet Dixie Wedding Bells with Love from Personal Impressions.


This Wedding Dress stamp is so versatile, using different colours
really transforms its elegance into a dress for other occasions.
A Bridesmaid, Evening, Prom or a dress for all those little Princesses out there
i'm sure we all have occasions where this image would be most desirable.


By using just two colours from the same colour family you can create depth and shade. 
A blender or white pen can take away colour or add elements of light to your piece.

Working from *Bottom* to top, the dress is layered up by cutting away a tier 
of the dress each layer, cutting into the design to give lift and dimension. 
Even the length of this dress could be altered, another idea of it's usability.


Here the flower has been coloured and cut multiple times, adding both
wink of stella clear and Ranger Gold stickles glue for a little sparkly magic. 


By shaping and adhering to card with foam pads and surrounding the dress with an
Old Gold Centura Pearl frame it really does make the dress pop out.


Thank you for taking a peek at another of my creations using 
Sue Dix Wedding Collection stamps. 
I look forward to sharing another with you all very soon.

Creative Hugs & Stay Safe...Tracey xxx

Tuesday, 21 February 2017

Sweet Dixie Wedding Collection *Bouquet*

Today I'm sharing a card using the Bouquet stamp taken from the Newly released Sweet Dixie Wedding Dress stamp set  Designed by Sue Dix  from Personal Impressions.
The sentiment is taken from Sweet Dixie May This Special Day stamp set another new release from Sue's Wedding Collection.


The Bouquet has been stamped using versafine ink and coloured using Spectrum Noir Illustrator pens. Elements from the image have been picked out, stamped, coloured, cut out and layered on top to give a dimensional look. 


A few spots of Ranger Golden Rod Stickles really adds to the detail.
Another versatile stamp set with limitless use that would make a particularly wonderful 
topper for a Mother's Day Card.

Here's just a few examples of colour variations.


Thank you again for sharing your time, 
I look forward to sharing another with you soon.

Wishing you a wonderful day.. Creative Hugs from Tracey xx

Friday, 17 February 2017

Sweet Dixie: Wishing you a day as special as you ..

As Spring is just around the corner i'd like to share another creation using
Newly released stamp set Sweet Dixie Wishing you a day as special as you.. Designed by Sue Dix from Personal Impressions. This set consists of 1 large image and 2 sentiments.


This project was created by first colouring one image and then colouring 
multiple images specifically concentrating on the areas chosen to layer up.


The window panes have been removed and replaced with acetate to give a realistic effect. 
Another layer of flowers have been added around the window frame.


The Window box has been built up by continuing to colour, cut out and build up layers..
adding a dot or two of Ranger Stickles Glitter Glue..


The usefulness of this set is limitless, from Birthdays, Thank you or just plain Hello cards.
 This set is one of two New to Sue Dix's Everyday Collection and 
I look forward to sharing another with you all very soon.

Thank you for stopping by, I wish you all a wonderful weekend.
Creative Hugs from Tracey xx


Tuesday, 14 February 2017

Sweet Dixie Love... music

Newly released Sweet Dixie Love Music clear stamp set designed by Kath Halstead from Personal Impressions is perfect for *Music Lovers*


The set contains a beautiful sentiment that will sing out to all Music lovers. 
The sentiment has been stamped onto a hand distressed background using Coffee Archival ink.


The musical score has been stamped using versamark ink and embossed with Ultra Fine Sweet Dixie Mirror Gold embossing powder.


The elegant Guitar has been stamped with Coffee Archival, embossed with clear embossing powder and a dot or two of ranger gold stickles glue added.


The back ground edge has been distressed and faux stitching applied to add the final detail,


Thank you for sharing your time to take a peek at my simple creation using this brand new set by Kath Halstead. I look forward to sharing another with you very soon.

Creative Hugs from Tracey xx

Friday, 10 February 2017

Sweet Dixie with Hugs.

Using Sweet Dixie Zendoodle RTG Teddy Stamp Designed by Lindsay Mason from Personal Impression I've created a Hugs card. a card to show someone appreciation, love or an alternative to the more traditional Valentines card.


I first stamped the Teddy and coloured using Spectrum Noir Illustrator Pens


Then created a background using a 5x7" Gelli Plate, Rollering Acrylic Paints, stamping with Tim Holtz Stamps and dot and dabbing with a few shapes found lying around the house. All transferred and printed onto Linen card.


The Teddy has been paper pieced using one of the four coloured teddy's as a base and cutting up sections of the other three teddy's. Layering using alternative colours and gluing them down has helped to give him that patchwork look.


Backed onto black card, glossy accents, gilding wax and a heart shaped gemstone has given him a little dimension.

The Hugs text has been cut using Ultimate Crafts 3 in 1 Alphabet Dies.

Wishing you Love and lots of Hugs this weekend From Tracey xx

Friday, 3 February 2017

Sweet Dixie Parasol turns Butterfly

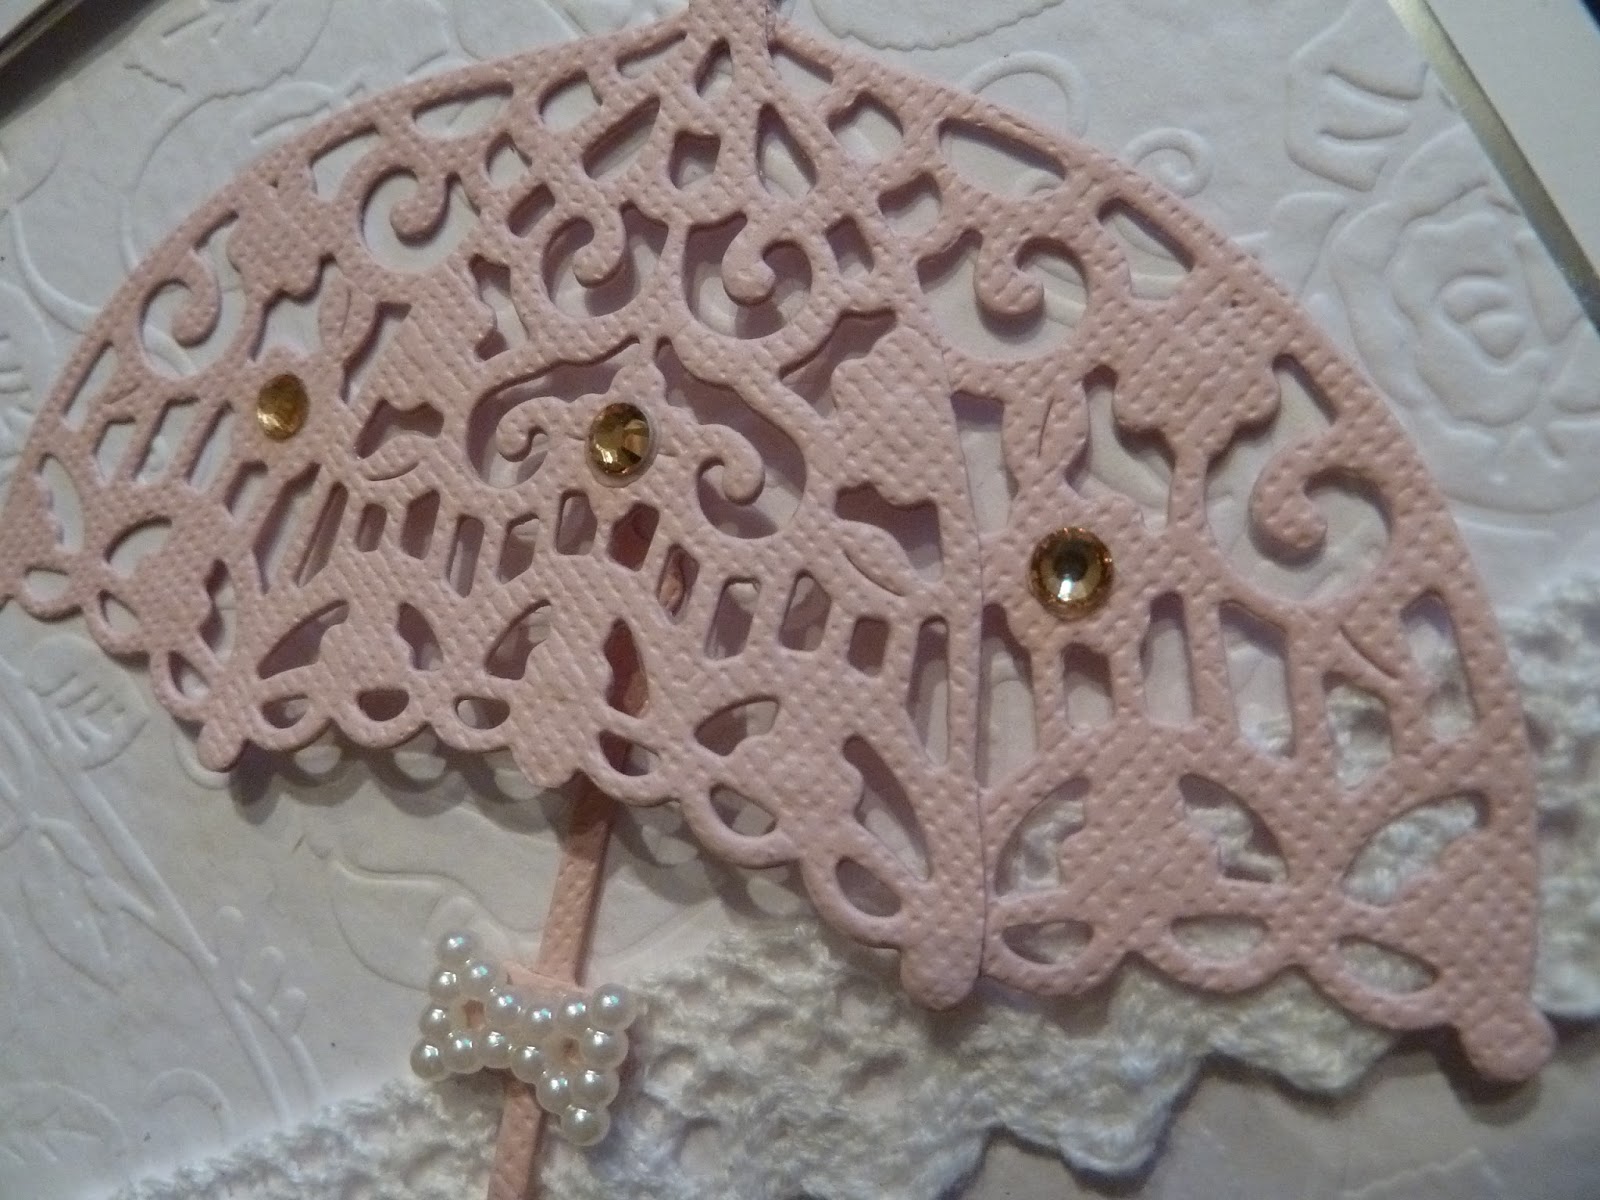
Using the Sweet Dixie Filigree Parasol from Sue Dix Summer 2016 Die Collection from Personal Impressions two cards have been created from one die.


Whilst looking through my scrap boxes for odds and ends to add to a master board I came across some die cuts of varying shades, it seemed a shame to  cover them in paste and paint..


So I set them aside to first create a simple Get Well Card, 
layering the filigree parasol with added embellishments.


Cutting the parasol handle off & using three parasol die cuts per wing, the wings are layered to create their dimension and embellished with Golden Rod Ranger Stickles. The centre of the Butterfly is created using the parasol handles previously cut off and a lavish focal embellishment placed centrally.


Both sentiments are from Making Cards February Edition and are Free with the Magazine.

Two handy cards made from little odds and ends..

Thank you for taking a sneak peek.. I hope you have a creative weekend..
Hugs from Tracey xxx