Pages

Showing posts with label Gears. Show all posts

Friday, 31 August 2018

Paperbabe Picture inspiration #81 ~ Pebble Cairns

Hello Creative Friends.

It's time for another challenge over at Paperbabe Stamps
and this fortnight we are asking you to use the picture to
inspire your creativity and share it with us over HERE.

Beach Pebble stacking is a mindful activity which requires patience and focus.
Harmless to the environment as nature reclaims them when the tide comes to call.


I've used the calmness of the colours from the stack to create a doodle
book and introduce elements upon it to represent part of the image.

Here's those *How to Do's*...

Onto an A4 piece of Kraft Card I have layered calico and lace,
sewn into place and painted over colour using distress crayons.


From the *Like Clockwork* set I stamped the face and numbers,
The numbers fit perfectly inside the minute marker stamp.


With the Isometric stamp printed onto the calico back cover I secured
it onto the Kraft card with stitching and used Paperbabe leftovers from
previous creations to embellish, including stamped rice paper and tea bags.


With the Kraft Card clock face trimmed and sewn in place the cogs 
and gears are the perfect fit to stamp onto the MDF buttons. 


The words Inspire me have been stamped onto a used Teabag smeared in 
gesso and glued onto the front of the cover along with the pointing hand 
stamp included within the *Like Clockwork* set. 


Stamped onto rice paper the word because has been adhered to the back..
BECAUSE we do not need to have a reason to be creative do we.. ?
A blank canvas to add more, scrawl or paint upon.


Filled with a selection of papers tied in with string the ability to express is unlimited.
Watercolour, drawing, stamp, Kraft and black core card have all been included.
I've used the isometric stamp as a guide for some mindful colouring.


A Cogs stack to resemble those Cairn Pebbles completes my 
Mixed Media Paperbabe Doodle Book..


I'm using this as my calming space, something much needed at the moment,
with the hope of keeping everything within it monochrome or neutral.

Thank you for sharing your time, it surely is precious.
I hope you too can join in and share your take on the Picture challenge.

Creative Hugs & Wishes
Tracey xx

I'm joining in with the PPF Fun today with Kristin & Eva.

 Paperbabe Stamps Creative Supplies: 

Paperbabe Portrait Media Blanks

Tuesday, 21 August 2018

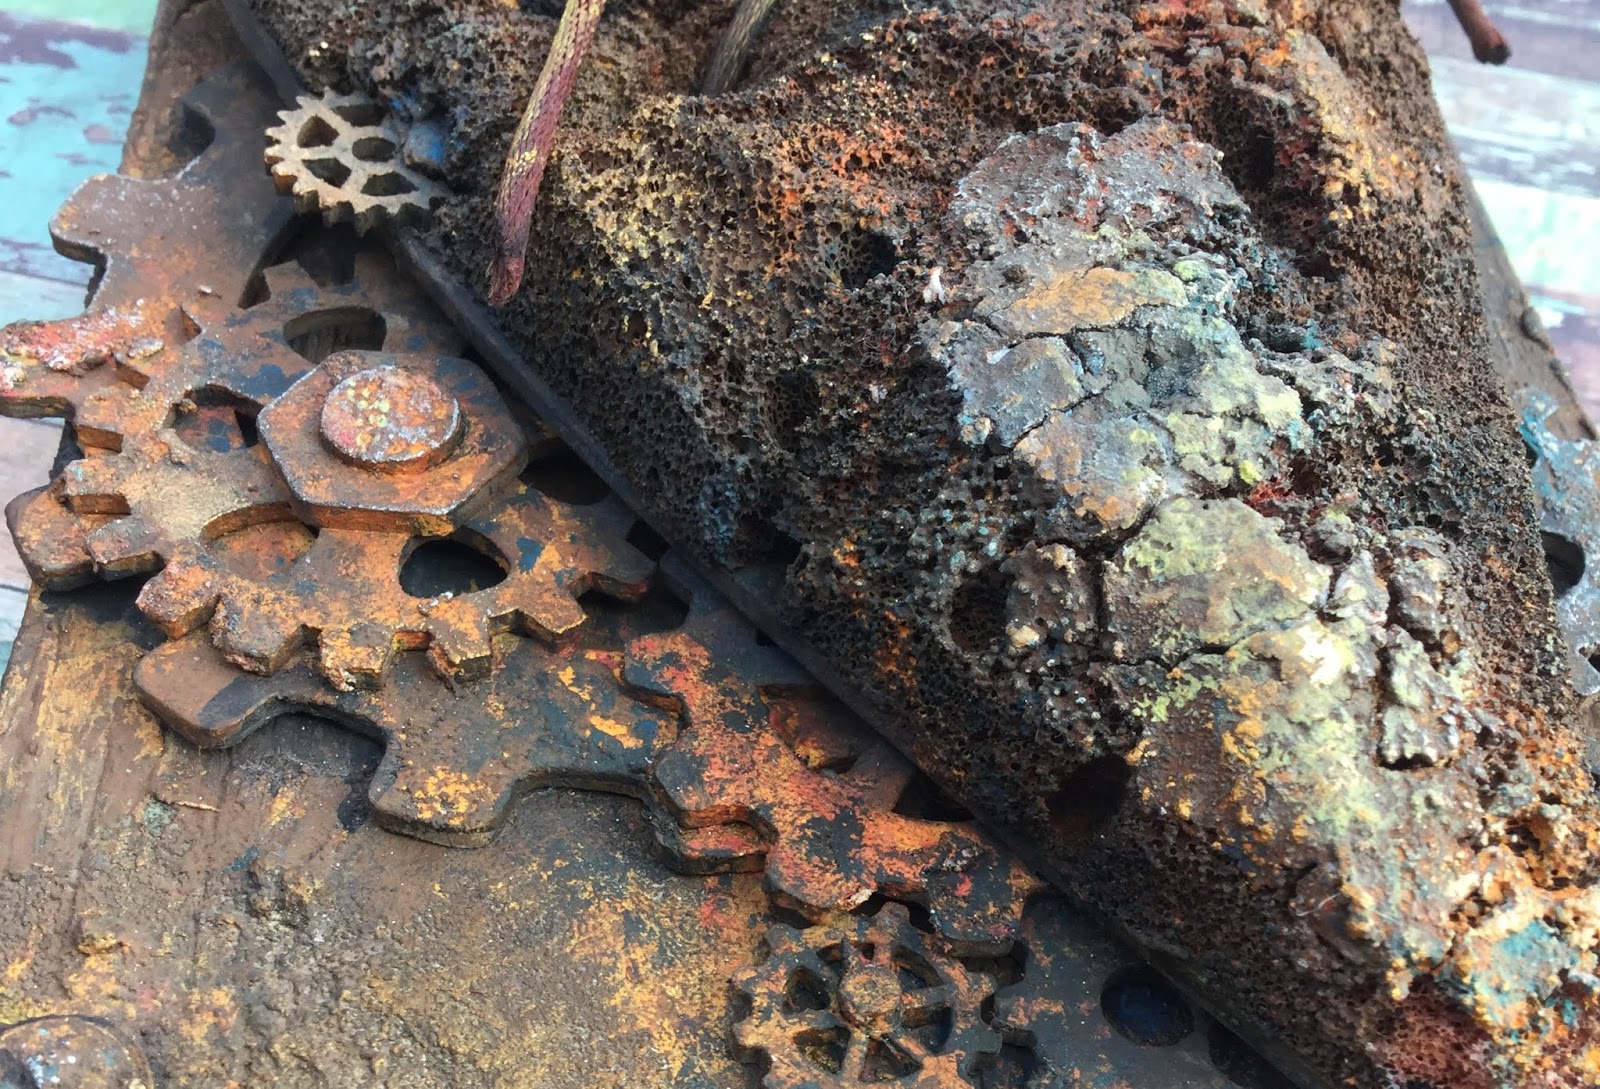
Look beyond the Rust and Crust of Life

Hello Creative Friends

I hope you are all keeping well and those of you in the UK
are looking forward to the upcoming Bank Holiday..??

I've been having a BIG craft sort out and came across more UFO's
I knew these elements would work very well together.

Here's what I got up to and those *How to Do's*

Take a cheap household sponge and glue it onto a greyboard heart.
Shape to size, punch in holes and add eyelets when dry.


Onto an MDF Chunkie I pushed texture paste through the Lines Stencil
Smeared on sand paste with my fingers and when dry painted 
all over with Chestnut Brown Multi Surface Paints.


I then dabbed on paint from the colour choice you see, spritzing with water 
allowing the paints to drip, fall and catch on the textured surface.


The sponge heart was first painted in red, spraying with water 
makes it easier for the sponge to absorb the paint. When dry 
I dabbed on spots of texture paste and allowed it to dry completely.

Using a bag full of greyboard cogs already prepped as a colour guide.

I used that same colour palette seen above to paint the whole heart 
mixing the colours on the sponge to replicate the colour of rust.


Arranging the cogs onto the chunkie I threaded a lace through 
the heart gluing it all in place using multi purpose adhesive.


Adding the finer detail to create the rust effect background,
pushing and pinching the texture paste allows it to crack


Picking away pieces of the texture paste also removes parts of the sponge 
revealing those protected rich reds underneath as the paste acts as a resist.


Stamped words on Kraft card are distressed and concertinaed 


Glued into place my Rust effect chunkie is complete and ready to hang.


Wishing you all a fabulous week ahead
what ever you have planned.

Take Care & Stay Safe

Creative Hugs & Wishes
Tracey xx

I'm playing along with:
SanDee & amelie's - Steampunk/Industrial Challenge
A Vintage Journey - How can I resist Challenge


All products  used are That's Crafty:
Greyboard heart - MDF Chunkie - Lines Stencil - Multi Surface Paints - Texture Paste -
Texture Sand Paste - Greyboard  Small Cogs Large Cogs- Multipurpose Adhesive

Thursday, 10 May 2018

Back to Front

Hello creative Friends

I hope you are all keeping well??

It's Thursday which can only mean it's my turn to share another
That's Crafty creation over on the That's Crafty Blog.

Today i've been very resourceful using up leftovers that never came to be.

Here's a sneak peek with the full project over  HERE


Thank you for sharing a moment of your day,

Sending Creative Hugs your way

Tracey xx