Pages

Monday 31 July 2017

July Tag: Nurture Nature..

Oopps it's the last day of July and I haven't shared my July Tag using those
fabulous prompts from Chris for a mini challenge last year..
Can't believe this is now Tag number 7.
You'd think I would be able to put these together with my eyes closed now but nope,
I forgot everything putting this one together, including to photograph the stages..

Here in words and not so many pictures is my July *Personal Challenge* Tag


Using a Black Tag I painted it in Clear Gesso. 
I then completely forgot to cover with a layer of paint and then forgot to 
cover the layer I forgot with another layer of a different colour. What a donut..!!
I did remember to push Grunge Paste through a stencil and add a strip of lace 
as my collage and then cover the whole Tag in matt medium.

English Red Oxide was dragged down the tag using a dry wipe and Gold DecoArt interference paint dripped down . Stencilled layers have been applied using white Gesso and when completely dry a coating of clear Gesso applied all over.

Fern Leaves by Hobby Art have been stamped onto the tag but I couldn't help think it was all looking a little flat. I'd been here before with my very first Tag thinking it all looked a horrid mess but we were encouraged to keep going... so on I plodded.


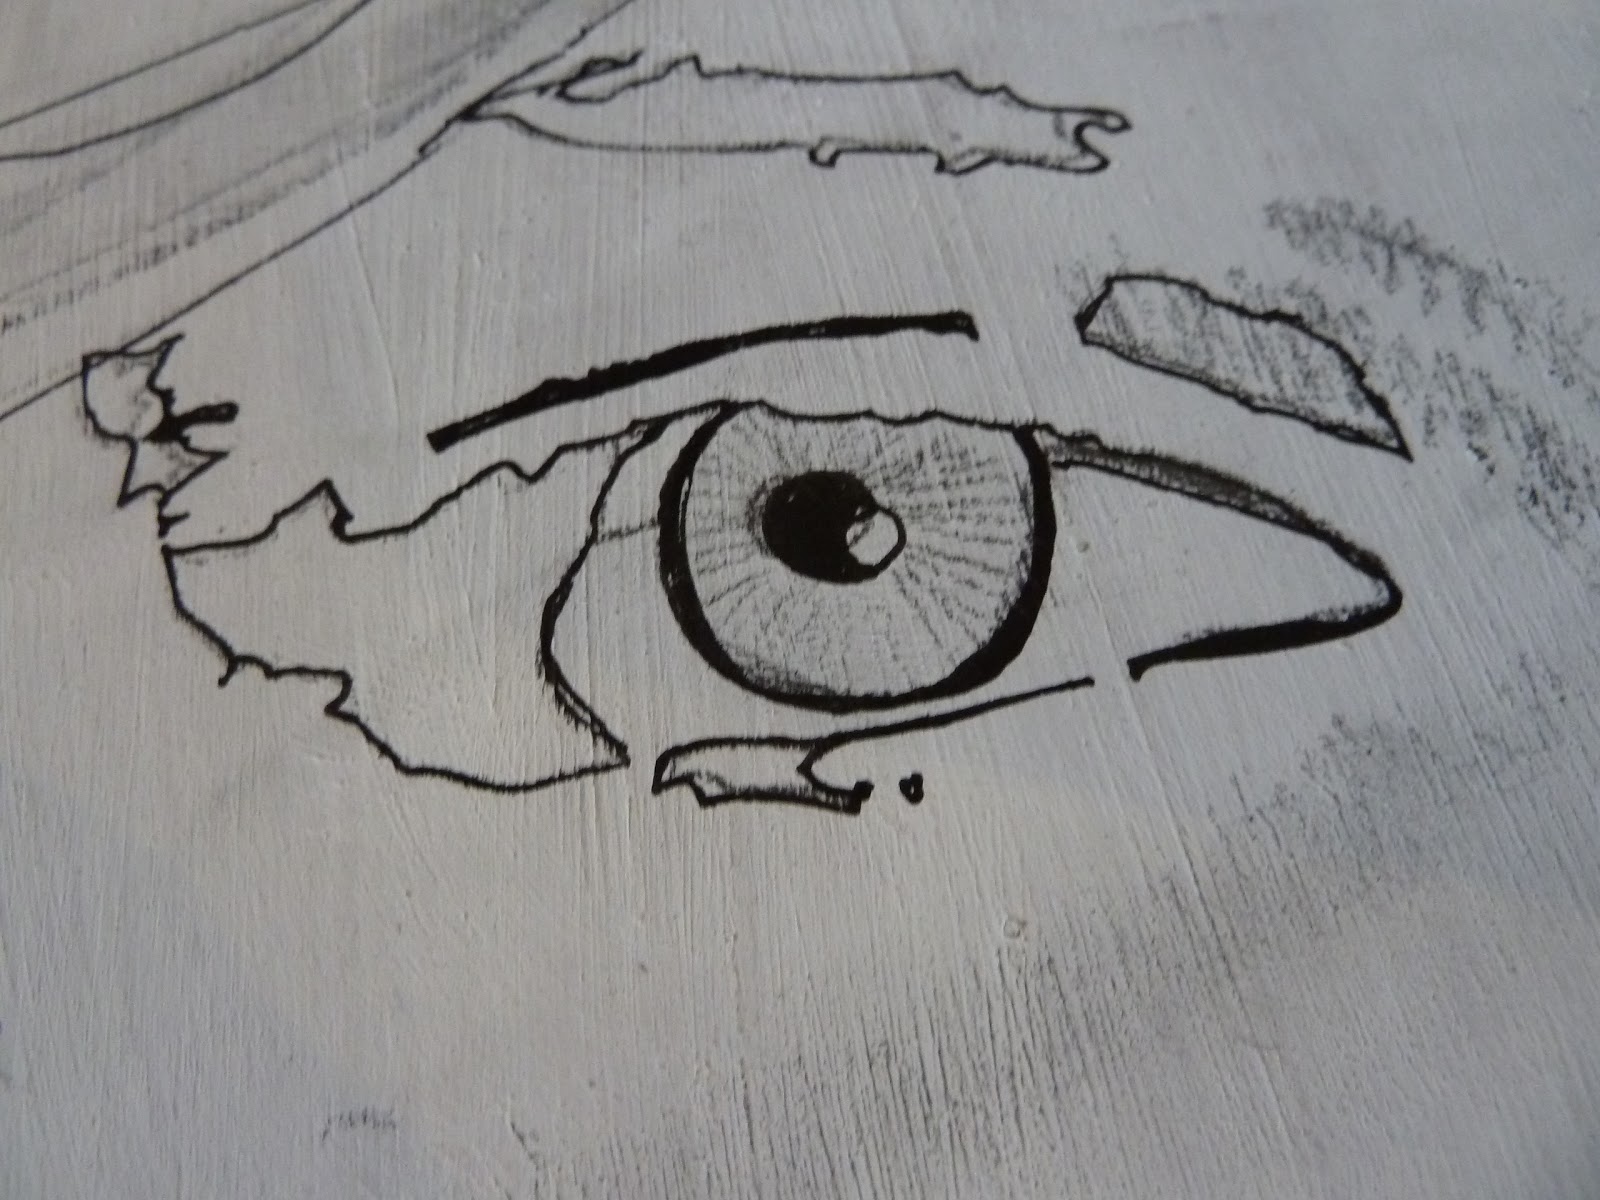
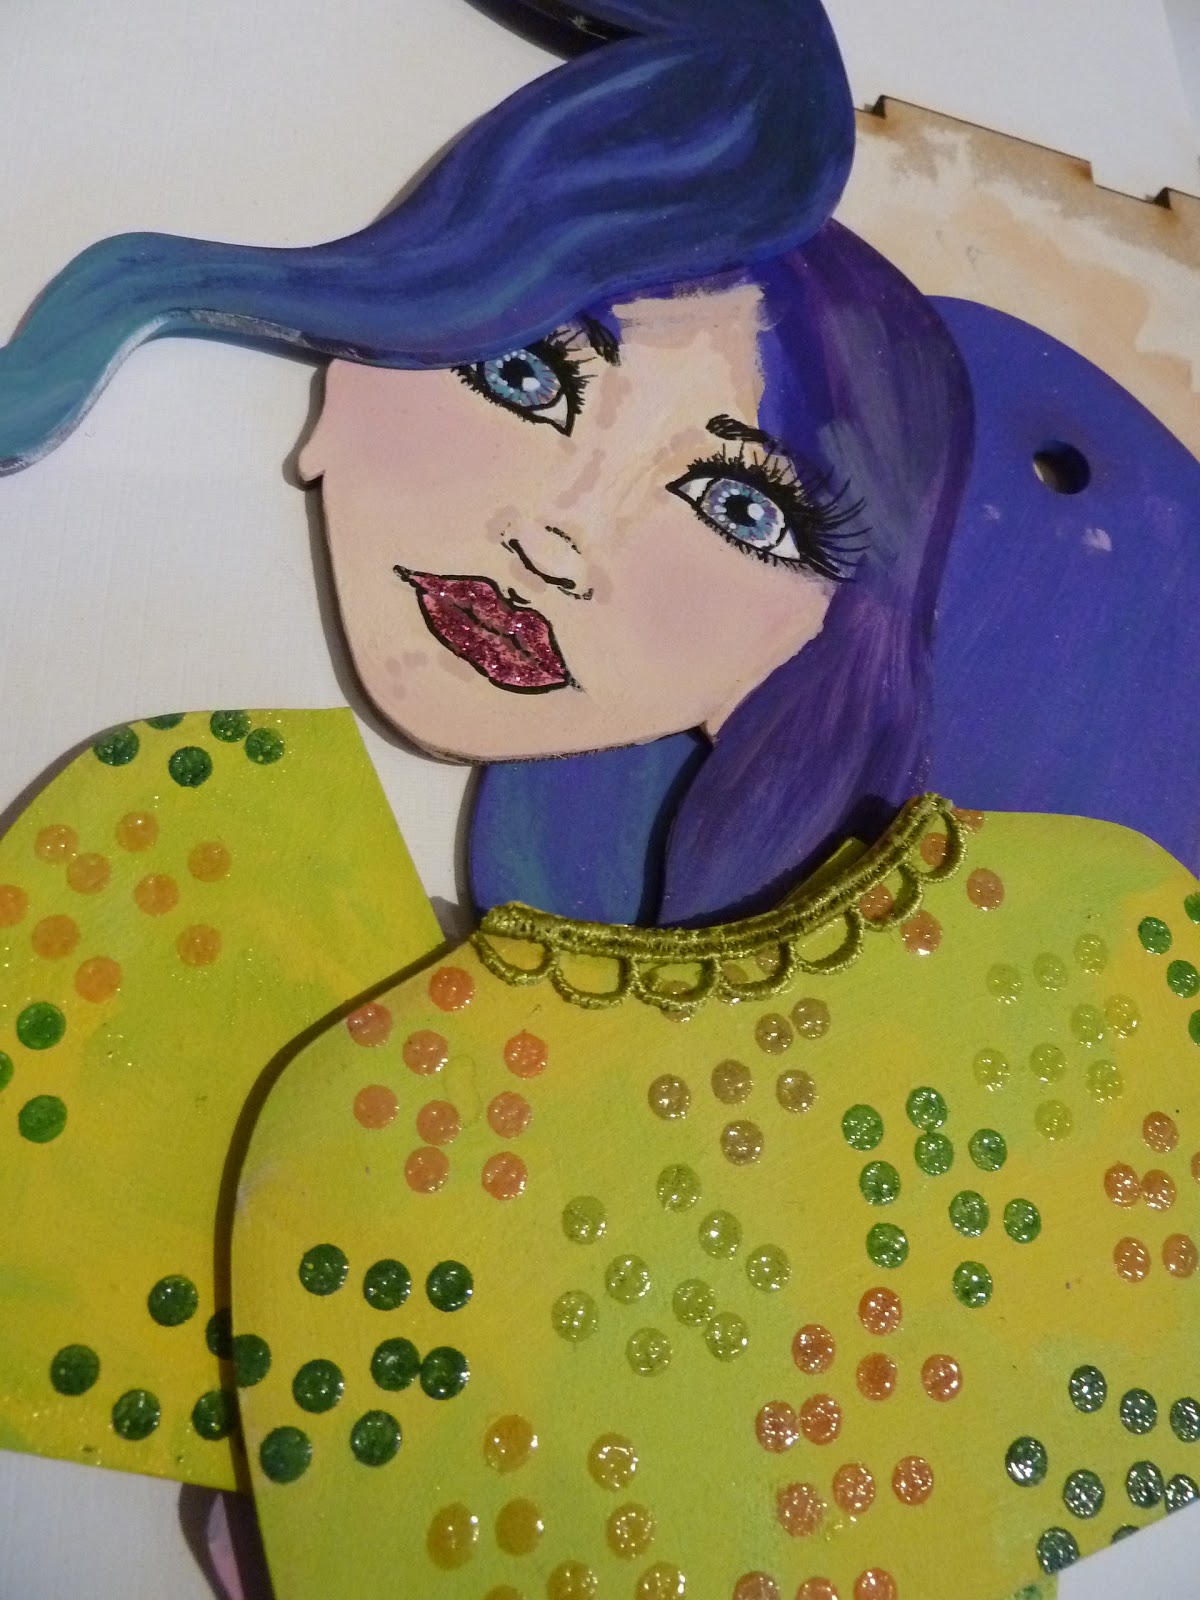
For my main focal image I chose an unused PaperArtsy image i'd previously painted with Distress Oxides it was only when I placed this image against the Tag to see if it would fit that I realised I had not put any background colours onto my Tag.. no wonder it was looking a little flat.

So a quick wash of Peeled paint Distress Oxide was applied to mask all that black and my focal image cut out and glued onto the tag. Lots of flat back pearls, gems, sparkly doodles and a glimmer of gilding wax helped bring it to life.


I used my own handwritten words of *Nurture & Nature* added colour
coordinating twine and a dragonfly embellishment to serve as a hanger or tie.

My July Tag is complete.


I must admit the wash really did transform the background  and bring it all together and forgetting to put the coats of paint on first really did make it look a little pants.

Chris's 12 prompts are a revelation and although we had been told we could leave any prompt out anytime, i'm never forgetting one again.

Thank you for sticking with me peeps my August Tag will be shared before we know it.

Creative Hugs
Tracey xx


A Sprinkle of Starlight.

Hello everyone, I hope you have all had a great weekend?
It's not only the last day of July but also Monday so that must mean 
it's my turn to share a sneaky peek of my That's Crafty Creation and 
direct you over HERE for the Full How to Do's.


I do hope you can join me and as always check out the Design Teams makes 
throughout the week with their sneak peeks and full how to do's over at 

Thank you for visiting and I hope to catch you all later in the week 
with some more creative sharing.

Take Care & Stay Safe Everyone
Hugs Tracey xx

Tuesday 25 July 2017

Paperbabe Stamps Challenge #52 ~ Sketch

Hello everyone I do hope you are all having a good week? I'm sharing a card I put together over the weekend for the Paperbabe Sketch challenge and thought i'd better share it with you all before the challenge is over.. Here's my very quick How to do's..!!

This challenge is a Sketch Challenge where Kim gives a prompt along with interpretations for inspiration. I must admit I struggled thinking this one out in my head so decided to get messy and create each part then think again on how I would piece it all together.

Here's my pieces..


.. laying down my Card foundation..

1: Chipped Sapphire and Black Soot Distress background
2: Tando Circle coloured in Caran D'Ache pastels and pencils. 
White Posca Marker dots and distressed edges using Black Soot.
3: Tando Butterfly coloured in Neocolor and Black Soot
4: Black strip of card with a Paperbabe sentiment stamped and embossed.


.. and finishing it all off with my focal feature of Little Red 
painted with water soluble pastels and pencils.


Phewwwww... I hope I got it right..?
It certainly kept my brain active and I'm quite pleased with the outcome 
apart from it needing the odd tweak here and there.
I hope you like it too..

Until next time stay safe..
Creative Hugs
Tracey xx

Crafty Supplies:
Paperbabe MayLeeDee Little Red Stamp Set
Paperbabe Wish Stamp
Tando Circle/Butterfly
Caran D'Ache Neocolor Pastels/Pencils (water soluble)
Tim Holtz Distress inks Chipped Sapphire/Black Soot
Posca White Marker Pen
Black Card/Versmark/Silver embossing powder.

Monday 24 July 2017

Some Bunny Loves YOU..!!

Hi everyone, I hope you all had a good weekend ? Today i'm sharing some Bunny Love with you over on the That's Crafty Blog. Here's a sneak peek of the sweetest little Bunny in town.

Please hop on over HERE to see the full project and simple how to do's.


Have a great day everyone and don't forget to get your creative fix by checking out 
the creations from my super talented That's Crafty Design Team Mates, 
there's new makes each and every day!!

HOP to see you over there.. !!

Bunny Hugs
Tracey xx

Friday 21 July 2017

All things Grunge Girl..

It's time for another challenge over on the That's Crafty Challenge Blog 
for residents in the UK and Northern Ireland
For the next two weeks the Theme will be *All Things Grunge* 
I hope you find time to share your 
Grungy creations with us and join in with the challenge over HERE
There's a £20 voucher to spend in the That's Crafty Store for the winning entry.

Here in words and pictures is my take on *All things Grunge*


I painted an MDF GiganTAG with two coats of White Gesso this gave me the surface tooth needed to create my Grunge Girl. Using the Dinky Eye Stencil I traced the outline with a pencil adding detail to the iris and giving the eye a pupil.


I then filled the GiganTag space by drawing a face, adding shadow, shade
and colour using caran d'Ache neocolor pastels and coloured pencils.


A Black Posca Marker has helped define the outer eye with shimmer paints
 dripped down the eye in a sequence of light to dark, pink, purple and Charcoal.


After the final detail has been added to the eyes the stencil has been laid back on top 
and 3D Gloss Gel pushed through it. The Gel although it appears white at first 
does dry completely clear giving a glossy raised effect over it.


I repeated the process giving more dimension and when dry I used the black Posca Marker to trace over the dry gel defining the darker areas of the eye and adding lashes.


Antique silver Shimmer paint has added a glimmer of light to the hair and glossy accents a shiny look to the lips. Sari Silk Ribbon with Tyvek Beads and pearls have added interest to my *GiganTAG Grunge Girl*


There's so many directions you can take with this challenge and I hope you like my take on *Anything Grunge* Thank you for sharing your time with me again and I look forward to seeing what route you take over the next fortnights Challenge.

Take care and Stay Safe..
Creative Hugs
Tracey xx

That's Crafty ~ White Gesso
That's Crafty Surfaces ~ MDF GiganTAG
That's Crafty Dinky ~ Stencil Eye TC089
That's Crafty Shimmer Paints Pink Purple Charcoal Antique Silver
Posca Marker Pens
Prima Art Basics 3D Gloss Gel Transparent
Ranger Inkessentials ~ Glossy Accents
Caran d'Ache ~ Neocolour pastels/pencils
Tyvek ~ Lots of How To Video's showing how to make Tyvek Beads online.

Tuesday 18 July 2017

My Mini *Safekeeping* Book..

 Today i'm sharing a Mini book I created using an off cut of Hammer Card with a Distress Oxide/Sparkler Spray mop up background and the Beautiful You stamp set from
Rubber Dance Stamps Designed by Deborah Wainwright.

Here in lots of words and pictures is my Mini *Safekeeping* book.


Using StazOn I stamped onto clear Shrink Plastic. I've never had much success stamping onto clear as there's no tooth to it but using the Tim Holtz stamp platform really does keep the worry of it sliding around at bay. The image was coloured from the reverse side using Posca Markers. This takes some time to apply as the paint takes a while to dry so be patient if you intend to try this as you don't want to smudge it... it will dry eventually. 


Whilst the paint was drying I set about adding detail onto my 22cm by 7 cm sized off cut by machine sewing twine around the edges of what would be my mini book cover when folded. Using another off cut an insert was created with flaps to hold tiny useful things.


When the paint had dried the image was shrunken down in a pre-heated oven. 
An aperture was cut from the book cover and twine sewn around it's edge. 
This would be the window for the shrink plastic tile to peep through.


I placed the tile over the aperture and surrounded it with foam pads, this helped to level the page and also act as a cushion to protect the tile. The insert was then glued over the top and held in place with bulldog clips until the glue was completely dry. 


Sheets of folded paper are held with twine in the centre of the book cover for those little notes or lists and easily replaced when used up. Those bits and bobs that I tend to carry around with me but always fail drastically to find when needed are all now held in place.


A twine tie with some decorative Tyvek Beads help to keep it all neatly together.

My Mini *Safekeeping* Book is complete.


I've never made a mini book like this before and now folded it measures only 7cm x 11cm. 
A handy size to keep in my bag and a lot easier to find all those bits and bobs. 
I think i will definitely be making another. 
I'd like to share this with the Rubber Dance Stamps Team and join in their 

 Thank you for sharing your time with me today, 
I look forward to sharing with you all again soon.

Creative Hugs
Tracey xx

Crafty Supplies:

Rubber Dance Stamps ~ Beautiful You
StazOn ~ Jet Black
Tim Holtz Stamp Platform
Distress Oxides
Shrinkles Shrink Plastic (Clear)
Twine/Thread
Hammer Card
Tyvek
Bits and Bobs from the bottom of my bag.

Monday 17 July 2017

Art on my Heart.. the *B* - Side

Good Monday all, it's my turn to share some creativity over on the That's Crafty Blog today.
As you may remember last week I shared a little Art on my Heart

Here's a sneak peek of the *B* Side
Please pop over HERE to see the full make in words and pictures


and please drop by each day to check out the rest of the DT's inspirational makes throughout the week.

Wishing you all a fabulous day.. Stay Safe everyone.

Creative Hugs
Tracey xx

Friday 14 July 2017

Paperartsy Cards.. Quick and Easy.

Hello everyone, thank you for dropping by today.
I've been making lots of cards recently topping up my handmade card stash as it had began to dwindle lately. These are a selection using Distress Oxide mop up backgrounds and PaperArtsy Stamps.

Here are my very quick and easy *how to do's*...
in small words and lots of pictures.


Using Distress Oxide created backgrounds PaperArtsy Stamps 
Designed by Kay Carley have been used to create the cards design.


Coloured using wink of stella brush pens, some have been edged with stitching.


Others have been given a dot or two of stickles glitter glue 
and a sentiment also from the stamp set.


This sentiment is from another PaperArtsy set. I made a mistake stamping this 
and had to go over it with a fine liner but I don't think it's too noticeable.


I find this one rather innocent looking, maybe ideal for a child
 or Teenager. What do you think ?


This one is my favourite of the four, not sure why but I chose not to put a sentiment on it as it may not stay in the card pile for very long as I think it would look great framed.


I have used this super stamp set so much recently as it gives quick results.
I hope you enjoyed my quick made cards too??

Take care, Stay Safe & have a wonderful weekend everyone.

Creative Hugs
Tracey xx

Crafty Supplies:

Watercolour card
Versafine ~ Onyx Black
Tim Holtz ~ Distress Oxides
Ranger Stickles Glue

Tuesday 11 July 2017

Paperbabe Butterfly Girl..

Well the picture inspiration over on Paperbabes Blog Challenge is simply delicious so I busied myself looking for fruity colours amongst my shamefully large paint collection. 

Think these will do to start with...!!


The Paperbabe portrait substrates kit is full of different shaped elements that you layer up to build a painted portrait in 3D. Here is words and pictures is my Paperbabe Butterfly Girl.


I painted the face and neck using IndigoBlus Junk and Disorderly  portrait colour paints. I have to say I've been mixing my own skin tones for many many years now but the new indigoblu ones are fabulous!! The hair substrates have been given the Ombre effect.


The Paperbabe facial features have been stamped on roughly, they can be tidied up later when adding the fine details. The hairline has been painted on just to give me a guideline of where the hair piece will go.


In the kit you get substrates that resemble garments for both front and back which come in a V and round neck shape, it's your choice how you display them. I painted these panels with a mixture of zesty colours, stamped a spotty stamp from the paperbabe Whimiscal Woodland Owl set using memento inks, embossed them and edged them with lace trim. 

The eyes have been tidied using Posca Markers and glitter added to those Luscious Lips.

Time to piece it all together with a touch of glue:


As she has so much hair I thought it was such a shame to leave it so flat looking. It was a great space to work on and add more elements so I found some mixed media Butterfly blanks in my crafty stash and painted them using some of those sort out colours. 
I finally added a little wire and beads for extra detail to the more prominent ones.

This is the finished front...


and this is the back.


I chose to use the base on mine, following the colours used on the garment and have it free standing but the kit does come with the ability for you to hang this up, the hole to this one is hiding under the large Butterfly.

Thank you for visiting and taking the time to check out my Paperbabe Butterfly Girl.
Wishing you all a wonderful week, take care & stay safe.

Creative Hugs 
Tracey xx

I'd like to enter this into the Paperbabe Challenge #51 Picture Inspiration

Crafty Supplies:

Portrait Media Substrates - Wavy Central Parting Kit
Paperbabe mini Female Face stamps
Mixed Media Blanks - Accessories Kit
IndigoBlu Junk and Disorderly Portrait Paints
Black Archival ink for facial features/Memento for dots.
Paperbabe Whimsical Woodland - Set 2 (Owl) for dots stamp
Lots of brightly coloured paint (from my paint mountain!)
and a touch of Lace, Wire and Beads ..
Not forgetting some glitter for those luscious lips.. :))

Monday 10 July 2017

Art on my heart

Good Monday everyone I hope all is well and you managed to find some creative time over the weekend? I'm sharing a sneak peek of my Art on my Heart as its my turn to share some of my creativity with you all over on the That's Crafty Blog today. 

So please pop on over HERE to see the full How to Do's in words and pictures.


Thank you for sharing your time today, I look forward to sharing more of mine with you all same time next week.. Take care, stay safe & have a wonderful week.

Creative Hugs.. Tracey xx


Friday 7 July 2017

1, 2, 3 ATC

WELL..!!  I can hear you all say "What's all this Mess?" 
Grab yourself a cuppa and i'll tell you all about it..


Well this project all started with the words *Found* a Theme given for an ATC Swap I contribute to each month. I have so much stored away in pretty jars but the majority of it has little or no importance, just odds and ends hidden away with the hope of discovering that hidden gem each time I rummaged through it...

The Blog Challenge Theme for the next fortnight over at That's Crafty is *Anything Goes* and these little ATC's seemed to fit the bill nicely, showing that you really can create something from nothing.. 
I hope you can pop along and check out all those inspirational makes from the DT and maybe join in as there's a chance to win a £20 voucher to spend in the That's Crafty Store.. 

Here in words and pictures is my 1,2,3 ATC

Covering an MDF ATC in a layer of lace I Gesso'd over the top and added some of those 
bits and bobs, sticking them down with lots and lots of heavy body gel. 


I added micro beads into the exposed gel and then left them for 7 whole days.. yes 7!! 
As the amount of gel used was so thick and I knew these would be travelling to a new destination I needed to make sure that the gel had cured properly and also that those items would stay where I had put them..!


..One week later.
All dry and stuck down firmly.. so time to play.
I coloured each ATC differently using neocolor pastels and covered with mat medium to protect any further movement of colour. These colours were my base coat on which I could build up with more colour.


Now this is my favourite bit, bringing out all the detail by using raw umber paint and coordinating coloured alcohol markers around each element. Creating depth, shade and highlighting those prominent areas with bronze, antique gold and antique silver shimmer paints to give the appearance of reflection of light with a dot and dab of white Posca Pen.

Each ATC is finally edged with a little gilding wax.. and my ATC's are complete..


You really do need something substantial to adhere so much onto as you do not want them to buckle or bend whilst on their travels. The MDF ATC's are fabulous surfaces to work on and I believe they have now found new homes.. hopefully well received.?

Thank you for sharing your time, I hope you have been inspired.
What ever you are up to this week I hope it's a crafty one.

Stay Safe.. Creative Hugs.. Tracey xx


Crafty Supplies:

Bits and Bobs from my own crafty stash!
 Alcohol markers (Browns/Greens/Blues) Not my best ones.
That's Crafty MDF ATC's 
That's Crafty White Gesso
Heavy body Gel
DecoArt Matte Medium
Carn D'ache neocolor II water soluble pastels
DecoArt Raw Umber
That's Crafty Shimmer Paints
Prima Finnabair Art Alchemy Metallique Wax
White Posca Marker Pen

Monday 3 July 2017

Embossed ATC Fridge Magnet..

Hello everyone it's Monday again and today i'm over on the That's Crafty Blog sharing a little something I made some time ago... Here's a little sneak peek but please do click HERE for more info in words and pictures..


Until next week enjoy all the inspirational makes from The That's Crafty Design Team..

Take Care and Stay Safe.
Creative Hugs Tracey x